Introduction
In this article, we will discuss how to save gourd seeds.
Why Preserve Gourd Seeds?
It is crucial to saving gourd seeds since it allows homesteaders to protect rare kinds and keep their independence. You may ensure a steady supply of seeds for future planting and aid in preserving heirloom types by storing the seeds from your own gourds.
Advantages of Cultivating Gourds
Growing your gourds has many advantages in addition to its practical benefits. These benefits include affordability (because you won’t need to buy seeds or plants) and accessibility to various gourd varieties that might not be offered in stores. Additionally, growing gourds may be a fulfilling and fun activity that will give you a sense of success and a closer bond with nature.
Seed-Saving Techniques
In this post, we’ll outline a step-by-step process for saving gourd seeds, including everything from choosing the best gourds to safely preserving seeds for later planting. Irrespective of your level of homesteading expertise or horticultural knowledge, learning how to save gourd seeds may be a fun and environmentally friendly project.
Selecting the Best Gourds for Seed Preservation
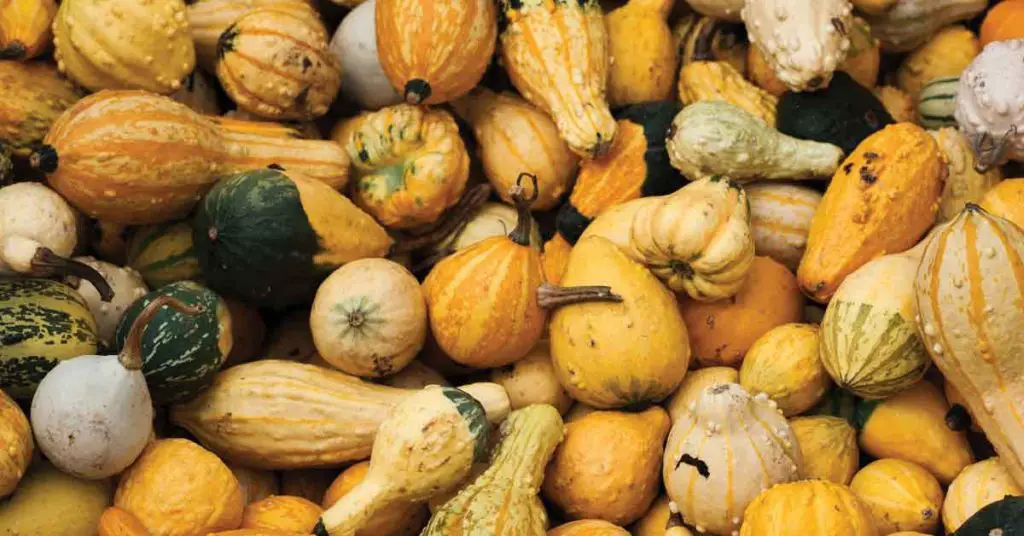
A crucial stage in the procedure is picking the appropriate gourds for seed saving. You can guarantee the accomplishment of your seed-saving efforts by choosing healthy, mature gourds and concentrating on heirloom or open-pollinated kinds.
Choosing Mature and Healthy Gourds
Only select mature, healthy gourds if you want to preserve their seeds. Gourds without illness or insect damage should have firm, flawless skin. The seeds’ development within and the shell’s firmness indicate that the ideal gourd is fully grown. Undeveloped seeds that are unlikely to germinate when planted may be found in immature gourds.
Recognizing Open-Pollinated or Heirloom Varieties
Concentrate on heirloom or open-pollinated gourd types for effective seed saving. These gourds will generate seeds that will germinate and grow into plants genetically identical to the parent plant or “grow true to type.” Save hybrid gourd seeds sparingly because they could not produce plants with the same desired characteristics as the original.
Keeping Cross-Pollination at Bay
The tendency of gourds to cross-pollinate with different gourd kinds is well known, and this can create seeds that give rise to plants with surprising characteristics. It’s essential to isolate your gourd plants by a sufficient distance (often a minimum of 10-20 feet) or use physical barriers like mesh bags to cover the flowers to prevent cross-pollination. This will make it more likely that the seeds you preserve will grow gourds with the desired traits.
Gathering Gourd Seeds
Gourd seed harvesting is a crucial step in the process of conserving seeds. Your efforts to save seeds will be more successful if you know when the gourds are ready to be sliced open, how to do it, and how to get the seeds out.
Establishing the Gourds’ Readiness for Seed Collection
When gourds are fully grown and have a firm shell, they are suitable for seed collection. When you shake the gourd, listen for a rattling sound to see whether it indicates that it is ripe for seed collecting. This suggests that the seeds inside are now loose and dry, ready to be extracted. Another indication of maturity is that the gourd’s stem should be dry and brown.
Cracking the Gourd Open
If the gourd is prepared for seed collecting, carefully cut it open with a little saw or a sharp knife. Be vigilant throughout this process to prevent harm. Make a little cut close to the gourd’s top, then cut through the tough shell as you travel around the entire thing. Attempt to minimize the opening while still giving access to the seeds inside.
Scooping the Gourd’s Seeds Out
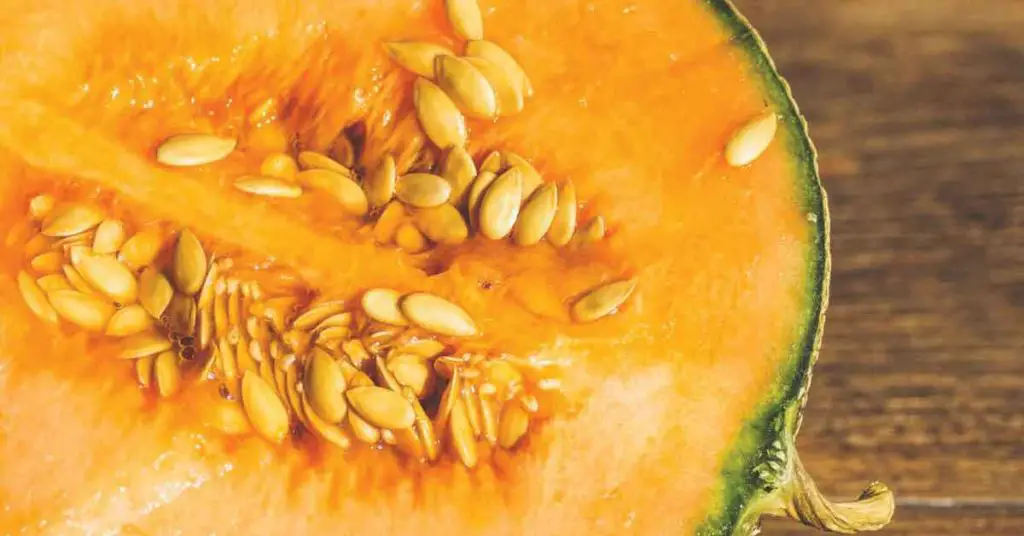
Once you’ve cracked it open, the seeds are within the gourd, frequently encircled by a fibrous, pulpy substance. Scoop out the pulp and separate the seeds from the surrounding debris to obtain the seeds. Use a sieve or colander in addition to your hands to separate the seeds more effectively. Once the seeds have been extracted, thoroughly rinse them in water to remove any pulp or debris that may have remained. The seeds should then be spread out on a clean piece of paper or cloth and air-dried for a few days before being stored in a cool, dry place.

Cleaning and Drying Gourd Seeds
Gourd seeds must be cleaned and dried before they may be stored. When it comes time to planting them, seeds that have been well-washed and dried will germinate more frequently and be easier to keep.
Cleaning up Pulp and Trash
After removing the seeds from the gourd, you could discover that the seeds still have some pulp and debris surrounding them. Gently rub the seeds between your fingers to remove as much pulp as possible by hand. If necessary, a clean cloth or a soft brush can gently remove any obstinate material. The pulp and debris must be removed to ensure that the seeds dry completely and do not grow mold or mildew during storage.
Water Rinsing of Seeds
Rinse the seeds after most of the pulp has been taken out. Put the seeds in a strainer or colander and gently run water over them to remove any pulp and debris that may still be present. Use lukewarm water only; hot water can harm the seeds. To ensure that all surfaces are adequately cleaned, gently agitate the seeds with your hands or by shaking the sieve.
Spreading Out Dry Seeds to Air Dry
Spread the seeds out in a single layer on a flat surface, such as a paper towel or a clean cloth, once they have been rinsed. To avoid the seeds sticking together and slowing down the drying process, ensure they are not touching. Place the seeds in a location with good ventilation and away from direct sunlight so they may air-dry for a few days. To ensure the seeds are drying evenly, check on them occasionally, and turn them over if required. Before seeds are kept for future planting, they must be dried and brittle to the touch.
Gourd Seed Storage
Maintaining the vitality of your preserved gourd seeds requires proper storage. You can make sure that your seeds will be prepared for planting when the time comes by selecting the appropriate containers, identifying them, and storing them in the proper conditions.
Choosing Suitable Containers
You should select airtight containers to store gourd seeds to shield them from moisture, pests, and changes in temperature. Glass jars with tight-fitting lids, plastic containers with screw-on covers, and resealable plastic bags are a few examples of appropriate containers. Before putting the seeds inside, ensure the containers are tidy and dry.
Put the Variety and Date on Seed Labels
Labeling each container with the variety name and the date you collected the seeds is crucial to keep track of the various gourd kinds you’ve stored and their ages. When planning your homestead, this knowledge will make it simpler to decide when to plant the seeds and choose the suitable variety. Direct writing on the container with a permanent marker is possible, or you can add a label.
Keeping Seeds in a Dark, Dry, and Cool Place
The best conditions for gourd seed storage are cold, dry, and dark. The ideal temperature range for storage is 40-50°F (4-10°C), and the excellent relative humidity range is 20-30%. Appropriate storage space might be found in a basement, closet, or cabinet away from heat sources and direct sunshine. Maintaining the ideal humidity levels and extending seed viability can be achieved by storing seeds in a moisture-proof container, such as a plastic bag or jar with a desiccant package. Check your stored seeds frequently for mold, pests, or damage indicators, and swap out the containers or desiccant packets as necessary.
Testing the Viability of Seeds
To guarantee effective germination and growth in your homestead, it is crucial to understand the viability of your preserved gourd seeds. You may maximize the benefits of your seed-saving efforts and enjoy a plentiful gourd harvest by doing a germination test and understanding when to discard old seeds.
Carrying Out a Germination Test
Test the viability of your preserved gourd seeds using a germination experiment before planting them. You may sow the seeds confidently after using this quick technique to estimate the germination rate.
- To conduct the test, collect a sample of the seeds you want to examine (10–20 seeds are usually sufficient).
- A coffee filter or paper towel should be dampened before lying flat on a clean surface.
- Place the seeds on the wet surface in an even layer; then, cover them with a paper towel or filter by folding or rolling them.
- To keep the seeds wet, place them in a plastic bag or other container that can be sealed. Mark the bag with the seed variety and the date.
- For 5–10 days, keep the container in a warm location, ideally between 70–85°F (21–29°C). Maintain the paper towel or filter moist and check the seeds frequently for signs of germination.
Count the number of seeds that have sprouted after the germination time. By dividing the number of seeds germinating by the total number of seeds tested, multiply the result by 100 to obtain the germination rate.
Knowing When to Throw Away Old Seeds
Although gourd seeds can survive for several years, they will gradually lose their ability to germinate. If the seeds are older than five years or your germination test results indicate a considerable decline in viability, it may be time to destroy the old and store new seeds from a fresh harvest. You may maintain a prosperous and fruitful gourd garden year after year by monitoring your seed viability and frequently upgrading your seed collection.
Sowing Gourd Seeds
The final stage in the seed-saving process is planting gourd seeds, guaranteeing that your stored seeds will grow healthy plants and a plentiful harvest. You may set the foundation for a productive gourd-growing season by preparing the soil and planting location, sowing seeds at the optimum depth and spacing, and caring for seedlings.
Making the Planting Site and Soil Ready
Gourds grow best in fertile, well-draining soil with a pH of 6.0 to 6.5. Select a sunny area that receives at least 6 hours of direct sunlight daily to prepare the planting site. To increase fertility and drainage, loosen the soil to a depth of 12 inches (30 cm) and amend it with compost or well-rotted manure. Depending on the findings of your soil test, you may need to add sulfur or lime to the soil to alter the pH value.
Planting Seeds with the Proper Spacing and Depth
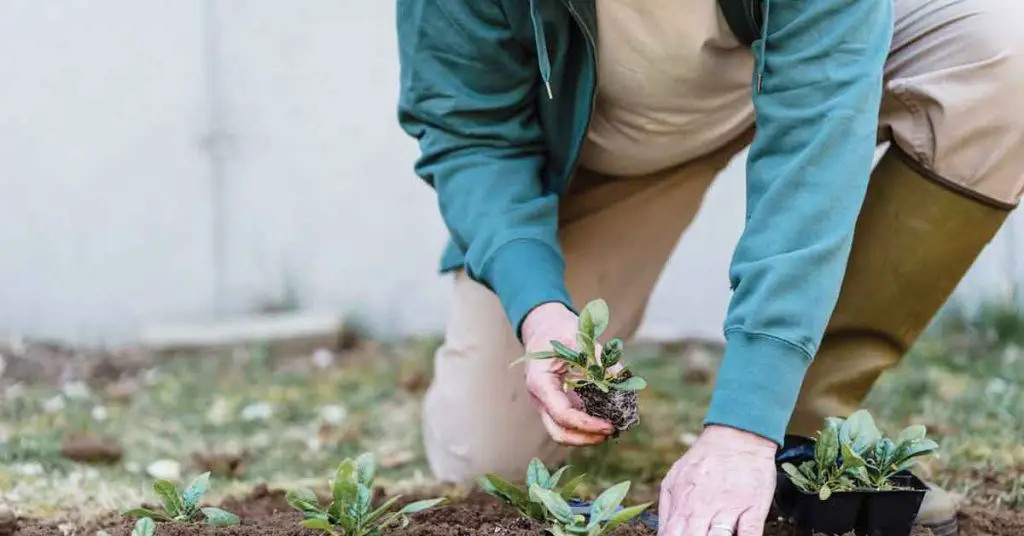
It’s time to plant your gourd seeds once the soil has been prepared. To prevent the seeds from drying out or being eaten by birds, plant the seeds at a depth of around 1 inch (2.5 cm). Rows should be at least 4 feet (1.2 meters) apart to allow enough space for the gourd vines to sprawl. Space the seeds in rows about 24-36 inches (60-90 cm) apart.
Consider building a trellis or other solid support structure for more significant gourd kinds or ones that grow long vines so the plants may climb and take up the most area. Sow seeds using the same depth and spacing recommendations at the support’s base.
Giving Seedlings the Proper Care
To encourage germination, thoroughly moisten the planting area after scattering your gourd seeds. Since gourds have shallow roots and need constant watering to promote their robust growth, keep the soil damp but not soggy.
Thin seedlings to one plant per specified spacing interval once they have emerged and grown their first set of genuine leaves. To ensure the gourds have enough nutrients as they grow, apply a balanced fertilizer or side-dress with compost. Keep an eye out for pests and illnesses on your gourd plants and use chemical or organic controls as necessary to keep your plants healthy.
You may make the most of your saved seeds and experience the satisfaction of producing your gourds from seed to harvest by following these instructions for planting gourd seeds.
Recap: How to Save Gourd Seeds
In conclusion, saving gourd seeds is crucial for homesteaders who want to grow their own gourd plants, encourage self-sufficiency, and practice sustainable homesteading methods. You can guarantee a successful gourd harvest every year by picking the ideal gourds for seed preservation, harvesting seeds, cleaning, and drying them, and then storing and planting them appropriately.
Experiment with Seed Saving and Gourd Gardening
We want readers to learn about seed saving and enjoy the fulfillment of cultivating their gourds. By doing this, you promote a closer relationship with nature and the environment in addition to helping to preserve the heirloom variety. Adopting seed-saving techniques is a simple but essential step toward a more independent and sustainable way of life. Save those gourd seeds; your homestead and future crops will appreciate them.
Disclaimer: The information provided in this article is for general informational purposes only and is not intended to be a substitute for professional advice. The author of this article does not claim to be an expert in homesteading and the information provided should not be relied upon to make decisions about your own homesteading journey. Please do your own research and consult with a qualified professional before making any decisions about your homestead.
Share via:
Shaun Alexander is the main writer and editor for HomesteadingSimple.com. With a strong passion for homesteading and sustainability, Shaun has dedicated his life to learning and sharing information about a simple, fulfilling existence tied to the land. His expertise ranges from gardening and livestock management to off-grid living and DIY projects, reflecting the diverse skills necessary for a successful homesteading lifestyle. Shaun’s goal is to inspire and educate others about the possibilities of homesteading, whether in rural, suburban, or urban settings, and to provide practical advice and tips for both beginners and seasoned homesteaders. He believes in a future where more people return to their roots, embracing a life of self-sufficiency and harmony with nature.


